DIY Clock-Weather-Plus Part 1
Tired of the red seven-segment bedroom alarm clock, I’ve set out to build a WiFi connected full custom clock. Here’s how I did it.
I took the day off from serious work and spent the time on a project that’s been nagging me for a while. I want a simple clock that I can read from across the room, day or night, awake or half-asleep. My eyes are fading quickly with age, so the 1″ high red seven-segment LED display’s aren’t cutting it anymore. This is the kind I’m getting tired of:

I really like the simplicity and clarity of this clock:

You can see what time it is, and what day it is. It’s a popular clock for those with early Alzheimer’s. I don’t have that (yet, anyway), but I like the idea of simple when I’m deciding whether to roll back over or get up. So I’ve been wanting to build my own version of that clock for a while.
And I want more than just what’s there. I’d like a similar screen with the weather. Maybe then another one for the news. Maybe a calendar one too. Maybe, well, who knows what in the future. Today I set out to write the code for the clock.
DIY Clock HTML Structure
I want to run this thing from an Arduino or Raspberry Pi with about a 7″ screen when all is said and done, and I want internet connectivity through WiFi so that I can add more information to it in the future, and not have to run a cable to it other than power. I don’t have the exact hardware picked out yet, so I’m starting on my own computer.
For the clock, I only need the time, which I can get from my local computer. If I port this to a Raspberry Pi, it is a computer that has the time also, so everything’s good there. If I port it to an Arduino, I need to include a real-time clock controller to keep track of the time for me. I’d set it maybe once a day or once a week, and update the clock by reading the time from the RTC.
So I created an HTML page with these elements in the <body>:
<div class="frame">
        <main class="clockFace">
            <article class="weekday"></article>
            <article>
               <span class="time"></span>
               <span id="ampm"></span>
            </article>
            <article class="date"></article>
        </main>
</div>
The outer <div> is just there for me to add some sort of frame around it to visualize different build possibilities later. The <main> element contains all the information. It is laid out in three <article> elements, which I used because it is a block element, meaning it will fill the entire parent (the <div>) from left to right. This gives me three rows, and it’s less overhead than using Bootstrap for layout. Inside the second row, I created two <span>s, which will display inline within the parent article. I did this because I wanted to use CSS to treat the AM/PM indicator differently than the time. I want the time to be big, and the AM/PM text to be smaller.
Also using CSS I set the size of the <main> element to 1024×768 to emulate the screen resolution I hope to use. I set the height of each “row” to the proportions I wanted, and set the font sizes I wanted. Here’s the CSS for these elements:
article {
    display:    block;
    font-family: 'Franklin Gothic Medium', 'Arial Narrow', Arial, sans-serif;
    text-align: center;

}
.clockFace {
    color:  white;
    background-color: black;
    width:  1024px;
    height: 768px;
    box-sizing: content-box;
    padding: 0px;
    margin: 0px;
}
.weekday {
    color:  white;
    height: 192px;
    font-size: 7em;
}
.time {
    height: 384px;
    font-size: 20em;
}
.date {
    color:  white;
    height: 192px;
    font-size: 7em;
}
#ampm {
    color:  white;
    height: 384px;
    font-size: 5em;
}
Why did I use classes for some and an ID for ampm? No reason. You could use either for all. Actually, using all ID’s would make your javascript a wee bit simpler.
DIY Clock Javascript
Getting and displaying the time is straightforward. I wrote two functions. The first updates the time and checks to see if the date has changed from the last time it got called. If the date has changed, or if this is the first run through, it calls the second function to update the weekday and the date. There is one global variable, ‘theDate’ which is set to the current date when the date updateDayDate function is called. updateTime checks it against the current date.
"use strict";
let theDate;
function updateTime(initializing) {
let d = new Date();
let h = d.getHours();
let m = d.getMinutes();
if(m < 10) { //Because single digit minutes come back without a leading zero
m = "0" + m.toString();
}
let pm = 0;
let ampms = ["AM","PM"];
if(h > 12) { //convert to 12 hour time and set am or pm
pm = 1;
h -=12;
}
document.getElementsByClassName("time")[0].innerHTML = h + ":" + m + " ";
document.getElementById("ampm").innerHTML = ampms[pm];
if(initializing || theDate != d.getDate()) //on first time and on date change
updateDayDate(d);
}
function updateDayDate(d) {
let weekdays = ["Sunday","Monday","Tuesday","Wednesday","Thursday","Friday","Saturday"];
let months = ["January", "February", "March", "April", "May", "June", "July", "August", "September", "October", "November", "December"];
document.getElementsByClassName("weekday")[0].innerHTML = weekdays[d.getDay()];
document.getElementsByClassName("date")[0].innerHTML = months[d.getMonth()] + " " + d.getDate() + ", " + d.getFullYear();
//Update global variable theDate
theDate = d.getDate();
}
//Call updateTime and let it know we're initializing
updateTime(1);
//Call updateTime every half-second. Could call every second, we're only displaying hours and minutes
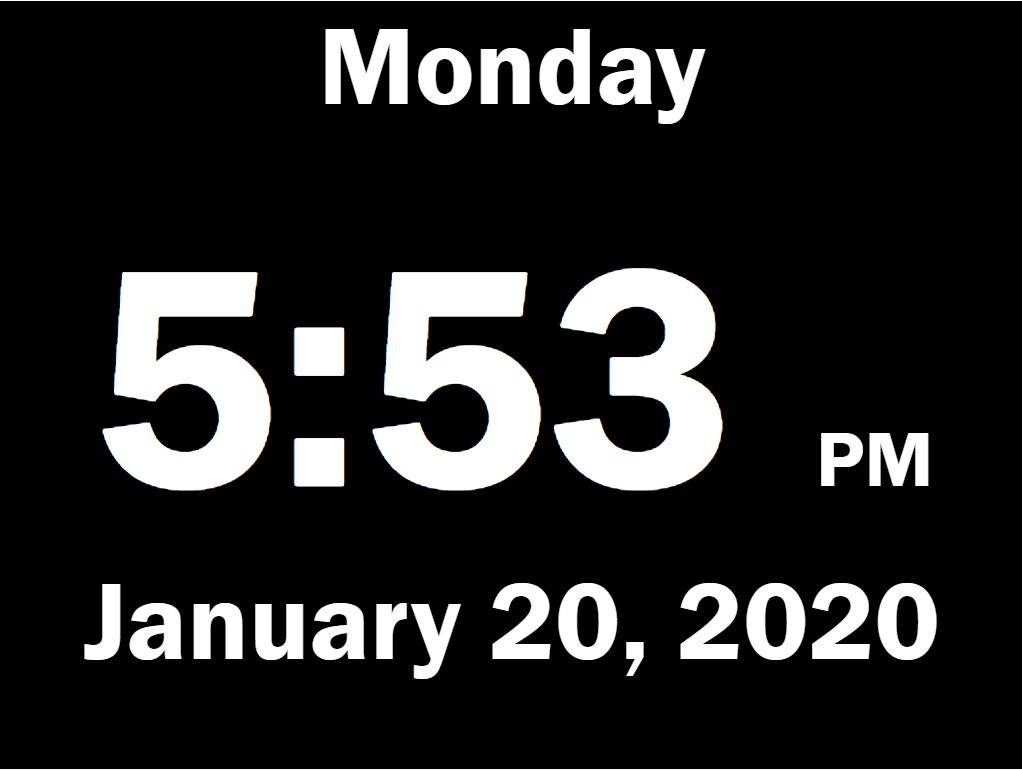
let tick = setInterval(updateTime,500);And that’s it. I didn’t show the whole HTML code, but if you’re playing along at home, you’ll have something like mine:
It’s not exactly the screen from the commercial clock, but I didn’t need a line for “Morning” or “Afternoon” etc. I’m good with this.
So far this is all front-end programming. It all happens in a browser. The only ingredients are the HTML, CSS, and Javascript files. If you have any questions or comments, let me know below.
In the next part of this series post, I’ll add a weather screen using the Dark Sky weather API and some cool icons made to go with it called Skycons.
7 thoughts on “DIY Clock-Weather-Plus Part 1”