Arduino and Touchscreen Under $35
An LCD Touchscreen with SD card reader, AND an Arduino Mega 2560 compatible board for under $35! What will you build first?
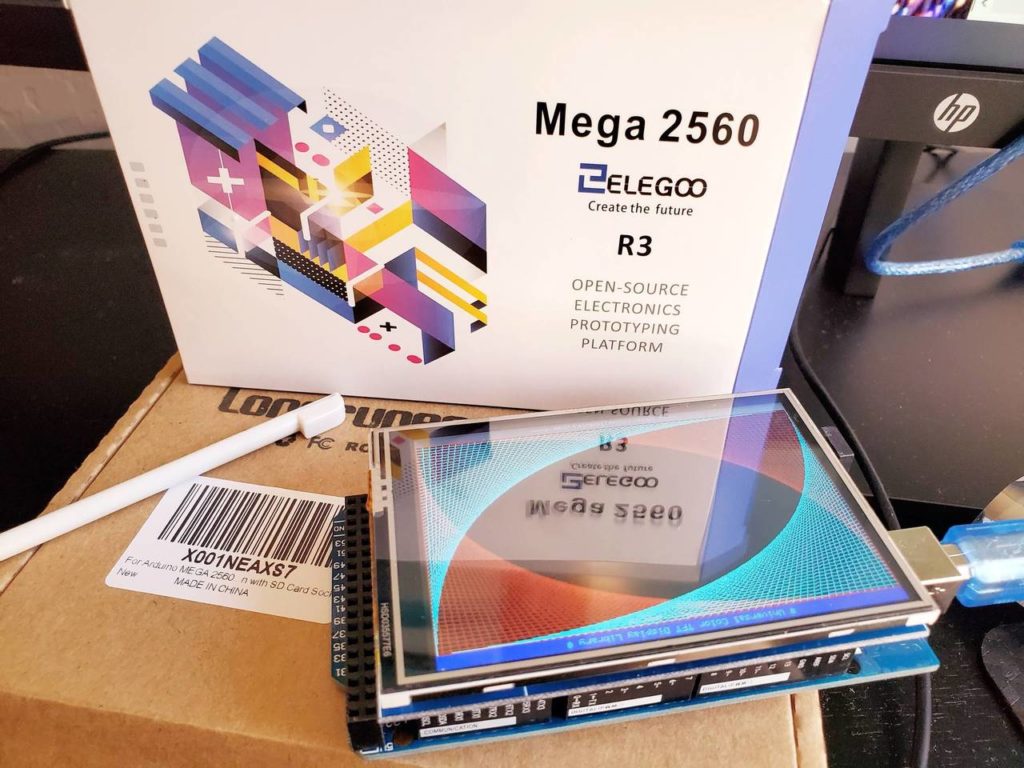
I just received an Arduino touchscreen project I ordered a few days ago. I was looking for a larger screen, around 10”, and stumbled across this 3.5” TFT LCD Touch Screen for under $20. A touch screen for under $20, yes please! I couldn’t resist. Plus, the module has an SD card slot in it as well, so there’s expandable storage in the mix as well.
So now came the first hurdle – I didn’t have an uncommitted Arduino to drive the new screen. Well, problem solved, I found an Arduino-compatible board for under $15. Absolutely I’m in! And to top it off, it’s a larger controller, meaning more memory and more I/O pins. It’s pin-compatible with the Arduino Mega 2560 R3. It’s got 256K of flash (8k used by the bootloader), 4K of EEPROM storage, and 8K of RAM. It has 54 digital I/O pins and 16 analog pins. More than I may be able to use, but plenty of options for future experiments and projects.
For under $35 I now have, delivered to my door, a mighty powerful microcontroller board and a full color graphic LCD with touchscreen to interface with it. Life is good!
To program the Arduino, you use what’s known as an integrated development environment, or IDE. The Arduino IDE has two options, you can use the web-based IDE or install it locally on your computer. If you install it locally on your computer, you are responsible for updating it and maintaining it like any other application. If you use the cloud-based IDE, it is updated and maintained for you, on what is claimed to be an hourly basis. I’m a little old-school and like having my things in my possession rather having them off in the ether somewhere. I don’t program at friend’s houses (it’s considered rude I’m told), and I work from home, so I don’t need the convenience of having access to my stuff wherever I am. Besides, I may not always remember all the credentials I need to get to my ether-stored stuff. So I chose the local install option. If you want to work on one project from various locales and want the latest updates as they happen, which makes complete sense, use the cloud-based IDE.
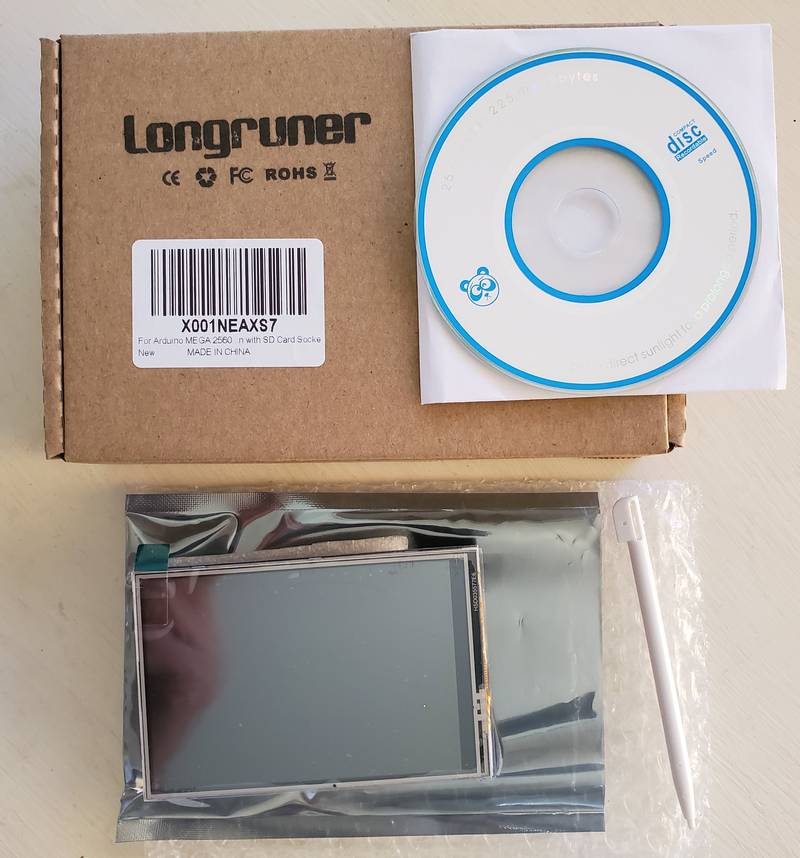
The Elegoo Mega 2560 board itself comes with nothing but a USB cable. Or as they put it, “everything you need to get started”. That is really all you need in all fairness. For the Longruner TFT LCD touchscreen, you do need some additional software. The software comes in the package on a mini-CD, and is also available online in a .rar archive. You can download the Longruner libraries and examples here.
The documentation is not super-clear, but it is accurate if you can figure out what it’s saying. Here’s what I learned, in plain English:
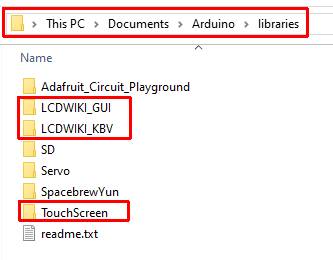
You need three libraries. Extract them from the .rar or copy them from the CD into your Arduino Libraries location:
Once you have the three libraries copied, locate and copy the example sketches you want to run into your Arduino folder. I made an “LCDTest” folder to keep the examples grouped together and isolated from other work.

The PDF file named ‘3.5inch_8BIT_Module_Arduino_Demo_Instructions_EN’ contains descriptions of what each of the code examples demonstrates.
Note that these next instructions refer to a locally installed IDE. The cloud IDE will offer the same functionality, but the way you do it may differ, but should still be apparent.
- At this point, you can simply double-click on any of the .ino files in the code examples, the sketch will open in the Arduino IDE. If you’re using the cloud IDE, then open the .ino file from there.
- Set your board target using Tools>Board>Arduino Mega or Mega2560.
- Verify the sample code is OK with the checkmark icon in the IDE.
- Connect the USB cable from your computer to the board. This provides both power and communication.
- Click the right-arrow icon in the IDE to upload the sketch to the board. The first time you do this, you will be prompted to select the COM port your board is connected to. The right one should be readily apparent from the choices you’re given.
- Once the sketch finishes uploading to the board, the board will reset and begin to run the code.
I’m working on a video of a couple of the demo sketches running on the display. It works exactly as advertised. I’m even a little impressed with the touchscreen’s ability to decipher my intent when fat-fingering small controls on the screen. I’ll update this post when that video is ready.
I’m super-excited about this new little Arduino touchscreen project. I call it a project, but the truth is I haven’t yet decided what to do with it, so I guess for now it’s technically more of a toy. Soon though, it will be an important project. I have tons of ideas, and tons of pins left. I want to build a DMM, and oscilloscope, and a power supply with this as the controller. I also want to build some more regular-person products, and this will be a great little test-bed for ideas. For under $35, this is a lot of capability and a lot of potential. If you’ve been thinking of playing around with one of these boards, this is the time. You’ve got nothing to lose, and endless possibilities ahead, all for less than you’ll spend on lunch this week. If you jump in on this, let me know what you’re up to with your setup.
The Arduino cloud-based IDE is at https://create.arduino.cc/
The Arduino desktop IDE (Windows/Mac/Linux) can be downloaded at https://www.arduino.cc/en/Main/Software