Self Watering System for Summer
Summer’s coming, and if you’re looking for a self watering system to help keep your trees healthy and your lawn green, I’ve found a super-simple low-cost solution that just works.
I have an existing self watering system, a drip irrigation system on a timer. The problem is that all of the emitters are on a single station, so everything has to be watered the same amount and on the same schedule. But the plants have different watering requirements. Specifically, I have a citrus tree which needs to be watered more than the landscape shrubs in order to produce lots and lots of it’s juicy fruit.
Being a tinkerer, I naturally wanted to make my own self watering system out of parts. But sometimes when you compare what you buy off the shelf with what you can build, there’s just a better and lower cost solution commercially available.
A second challenge with watering the tree is that the existing drip line goes to the base of the tree, at the trunk. I routed it there when I planted the tree some years ago, when it was quite small. Now the tree has grown, and the roots have expanded. Instead of watering it at the base, it really should be watered around the tree in a circle underneath the edges of the branches. That’s right about where the water-absorbing part of the roots are.

A DIY Self Watering System
My goals for this self watering system are twofold: I want to be able to supplement the watering from the drip system, and I want to water beneath the edge of the canopy instead of at the base.
Here’s what I came up with after considering a few alternatives. I decided to use an old garden hose to create a ring around the base of the tree, and then connect that to a hose which is controlled by a water hose timer. All in, it’s about a $35 solution, using an existing hose and an existing “Y” connector I have lying around. All I need is a water hose timer and garden hose repair kit.
The idea is to take the old hose and create a circle on the ground underneath the tree canopy. Of course the hose is longer than I need, so I make a loop out of the extra length. Once I have the right length of hose for the tree, I cut the extra length out of the hose and join the two cut ends using the hose coupling in the hose repair kit above. Then I have a perfect circle underneath the tree, with both ends of the hose coming together at one point. Using a soaker hose would be much better, but I don’t have one of those.
Now to connect both ends of that hose together using the “Y” hose splitter. One end of the hose, the female connector, connects directly to one male tap of the “Y”. To connect the other end of the circle hose to the other male tap, cut the male end off the hose and replace it with a female fitting from the hose repair kit above. Now there’s a circular around the tree, with both ends connected to the “Y” hose splitter, and the remaining tap on the splitter is ready to connect to the garden hose from the spigot.
Water Hose Timer
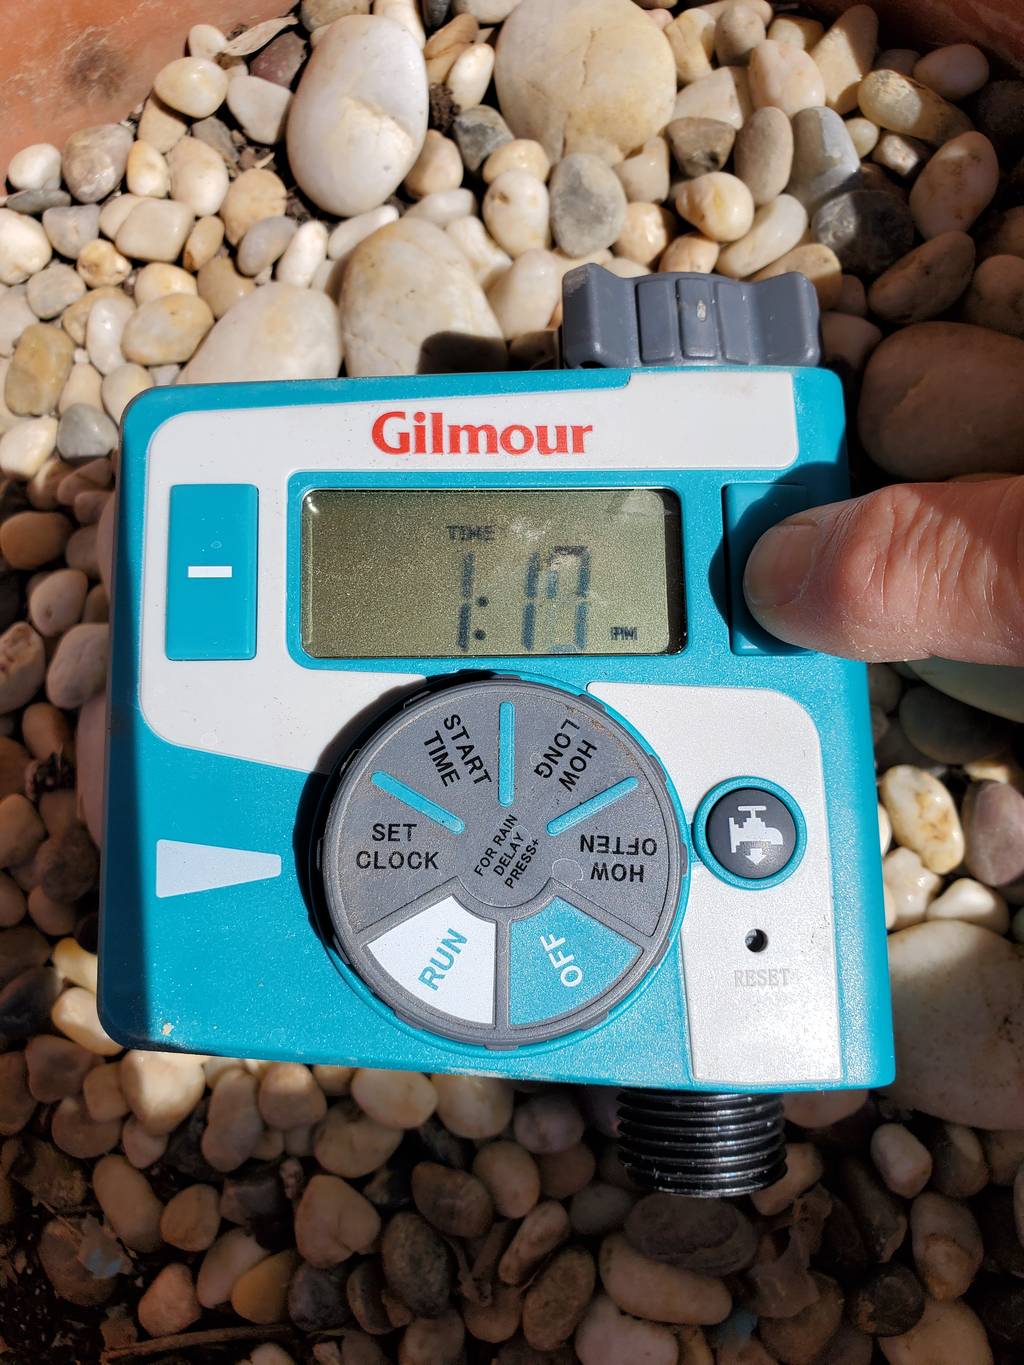
After some hunting around, I decided on the Gilmour single tap self watering system timer. It’s extremely simple to set up and use.
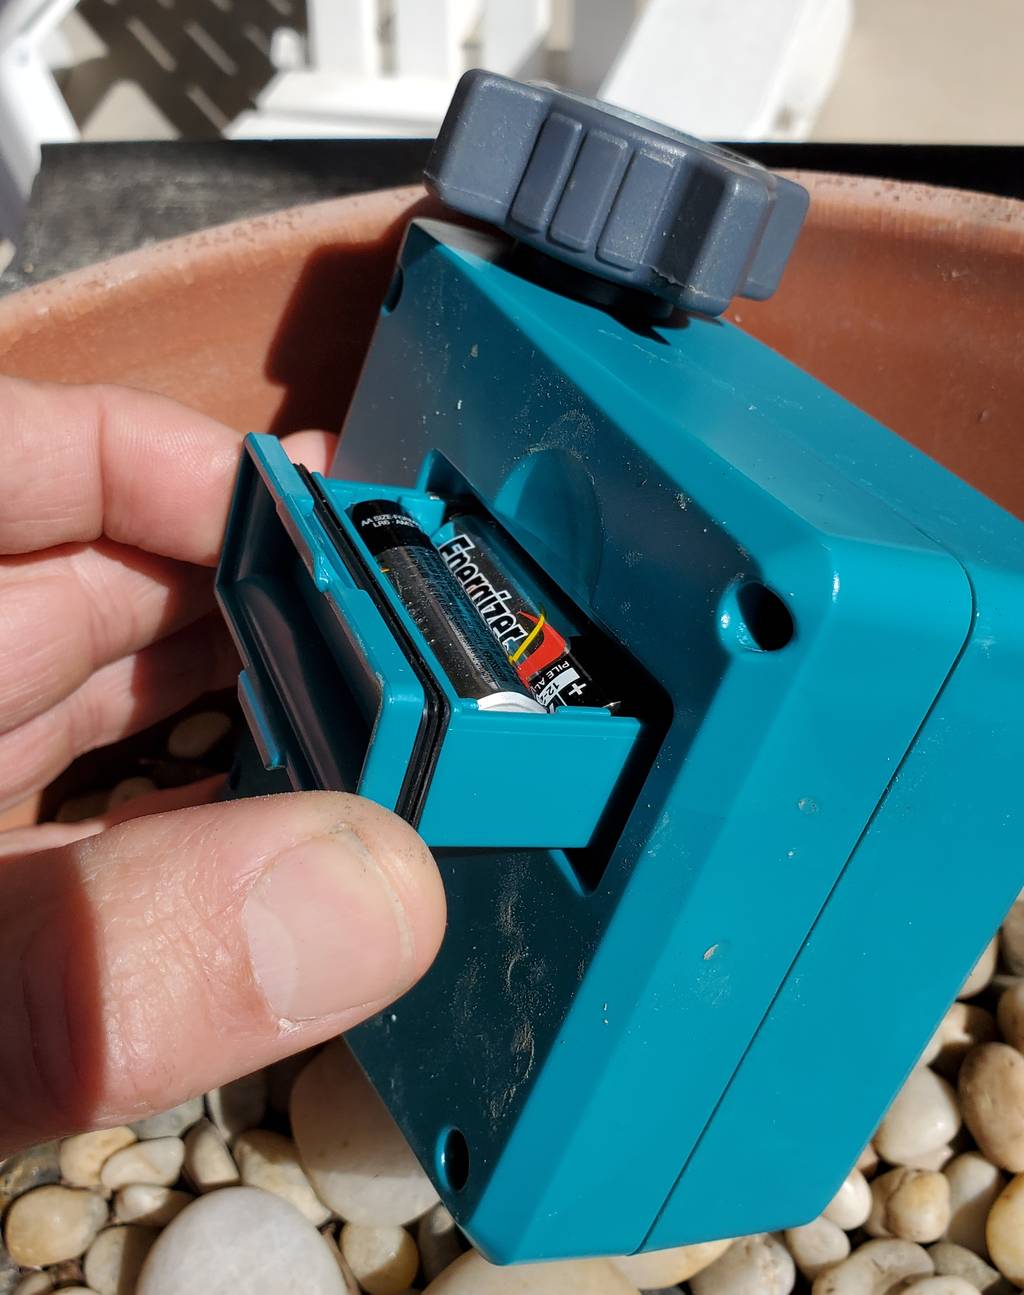
Pull the battery tray out of the back of the unit and add two “AA” batteries, then slide the tray back in. Connect the watering timer to the hose spigot.
Time needed: 5 minutes.
How to use a Gilmour self watering system hose timer
- Install the batteries
Remove the battery drawer from the rear of the timer. It will slide all the way out. Place 2 “AA” batteries in the drawer oriented as indicated. Replace the drawer.


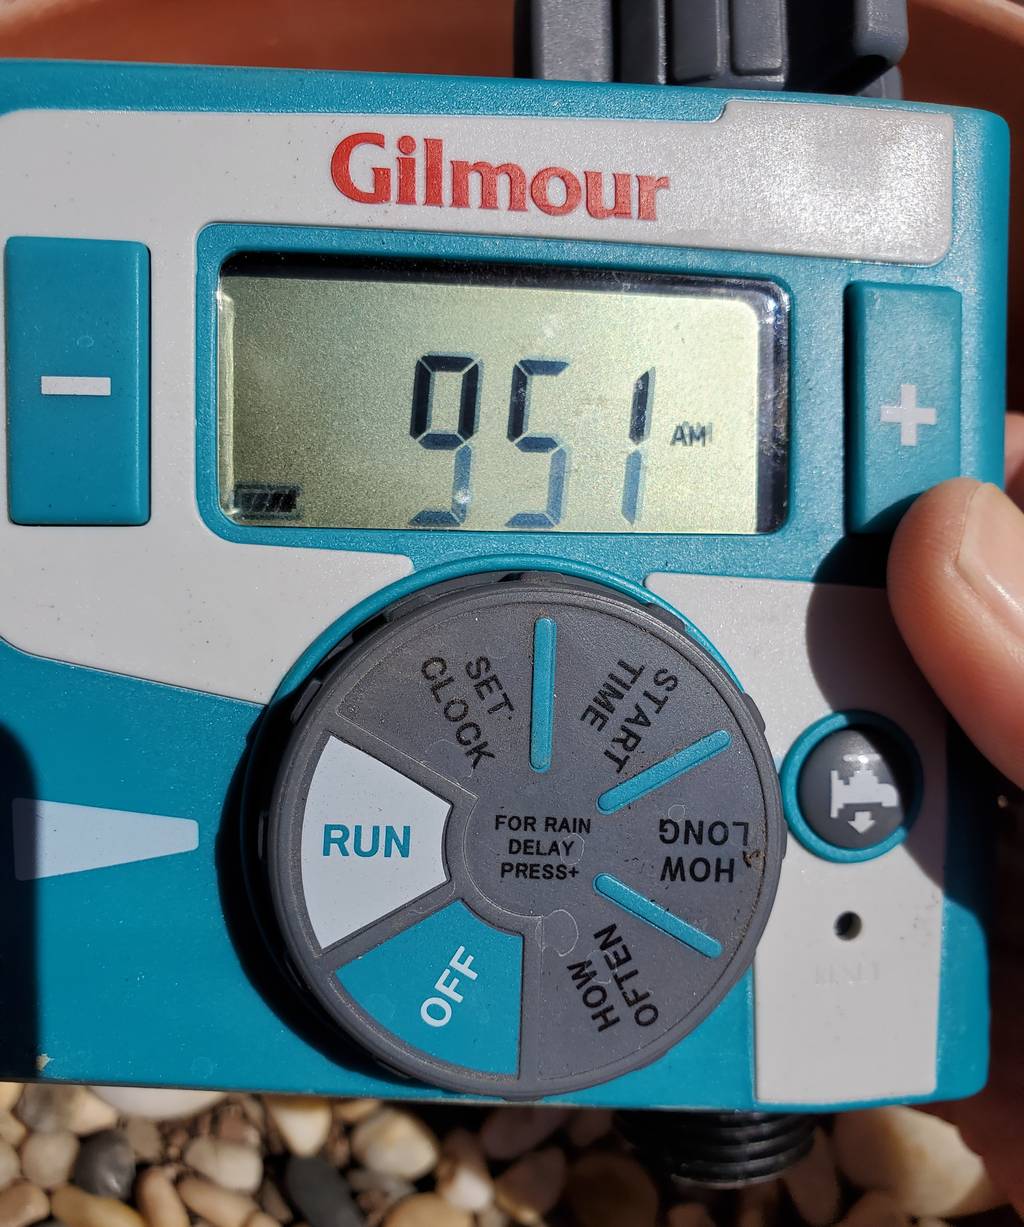
- Set the current time
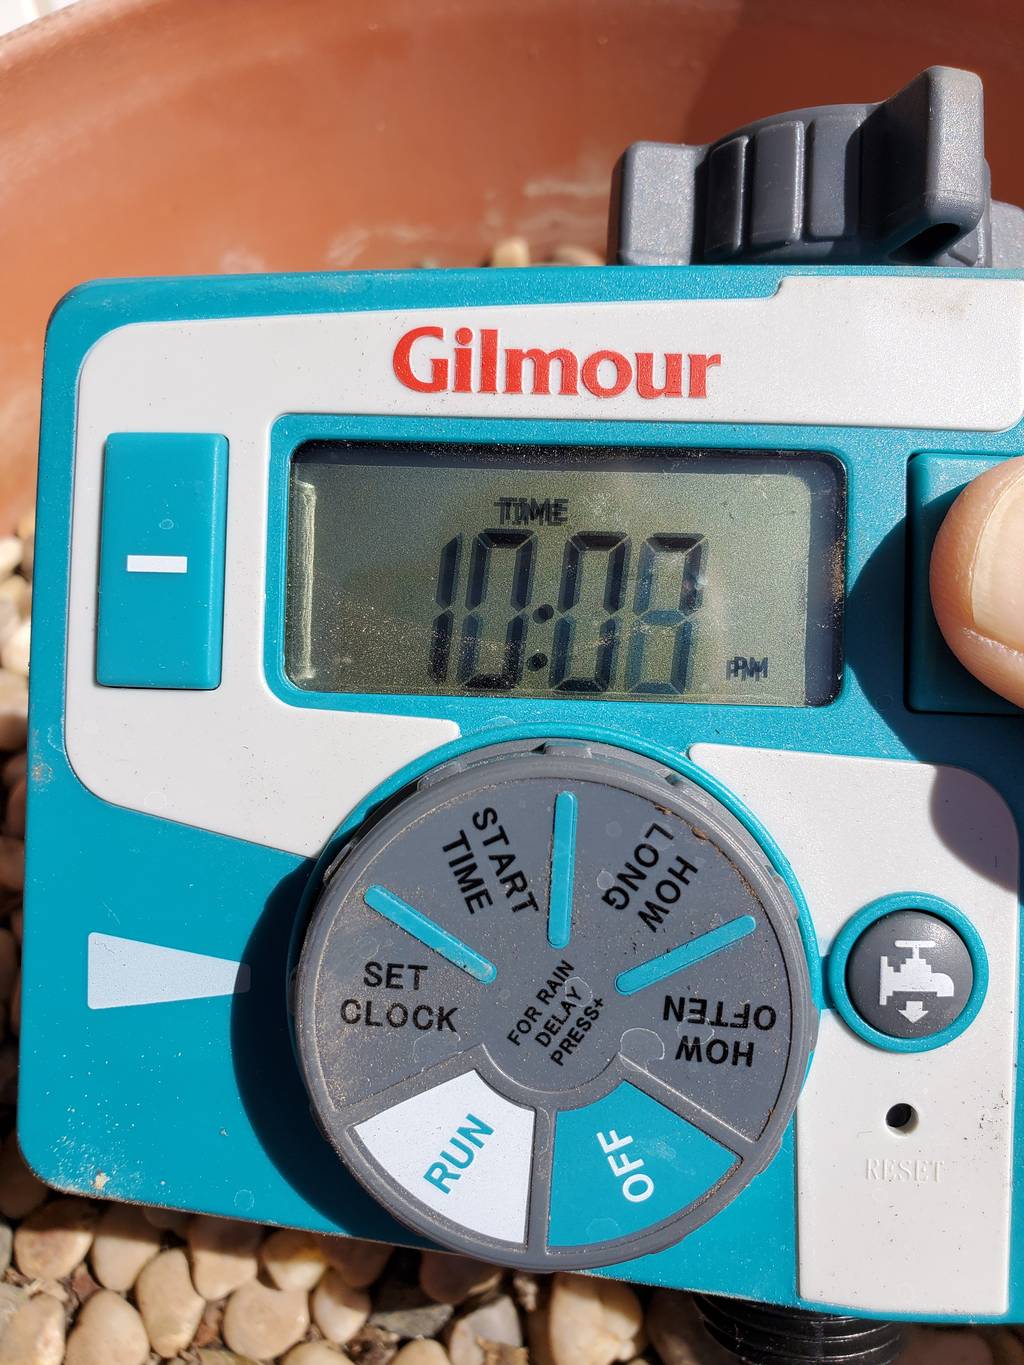
On the front of the unit, turn the dial so that “Set Clock” aligns with the arrow on the left. Using the Plus and Minus buttons on either side of the display, set the current time.


- Set watering start time
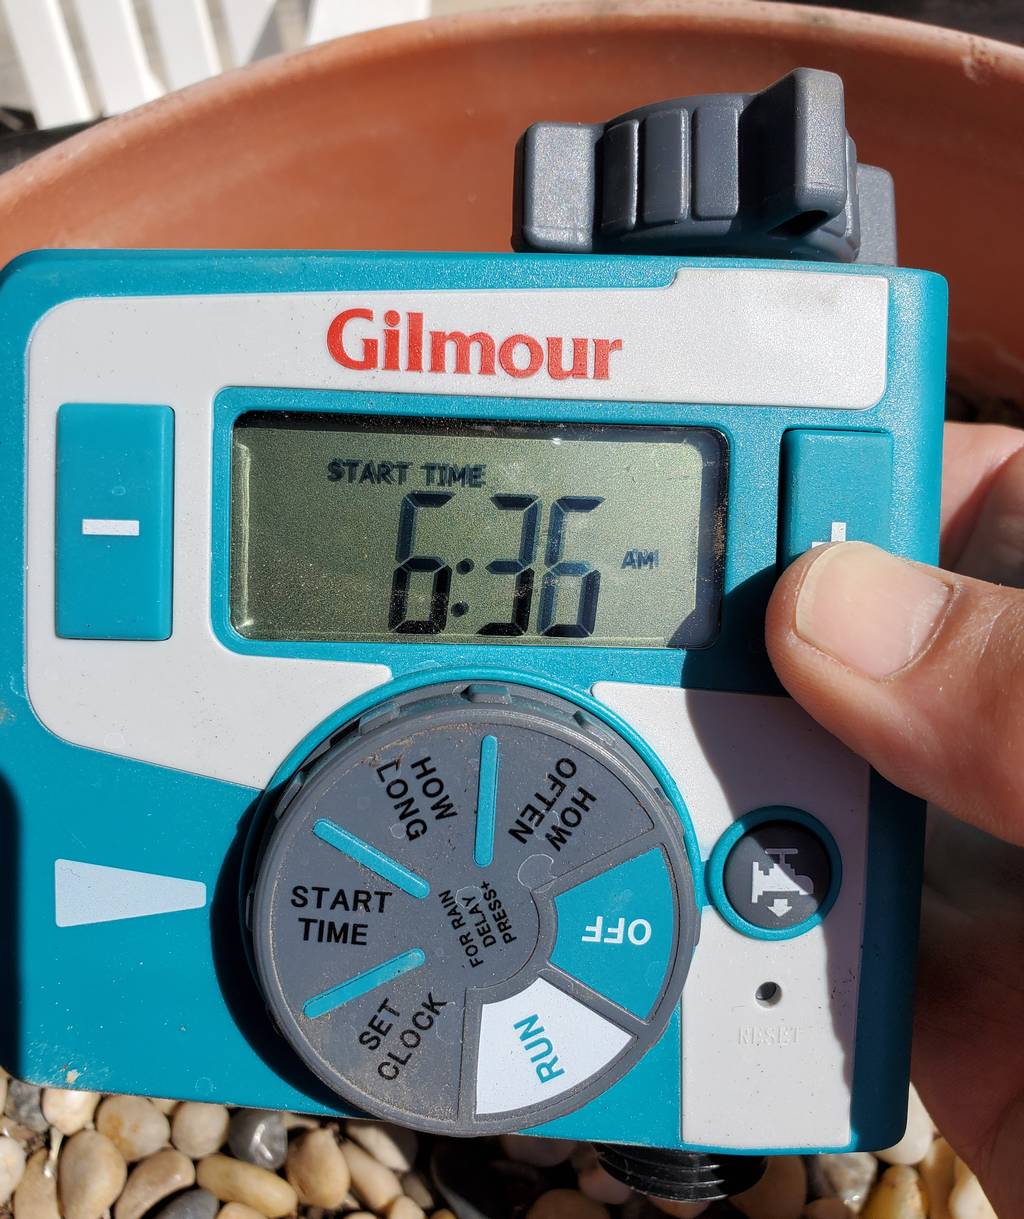
Rotate the large dial until “Start Time” is aligned with the indicator on the left. Using the Plus and Minus buttons on either side of the display, set the time of day you want to start watering.


- Set watering duration
Rotate the dial until “How Long” is aligned with the indicator on the left. Use the Plus and Minus buttons on either side of the display to set the watering duration. The maximum duration is 360 minutes, or six hours.
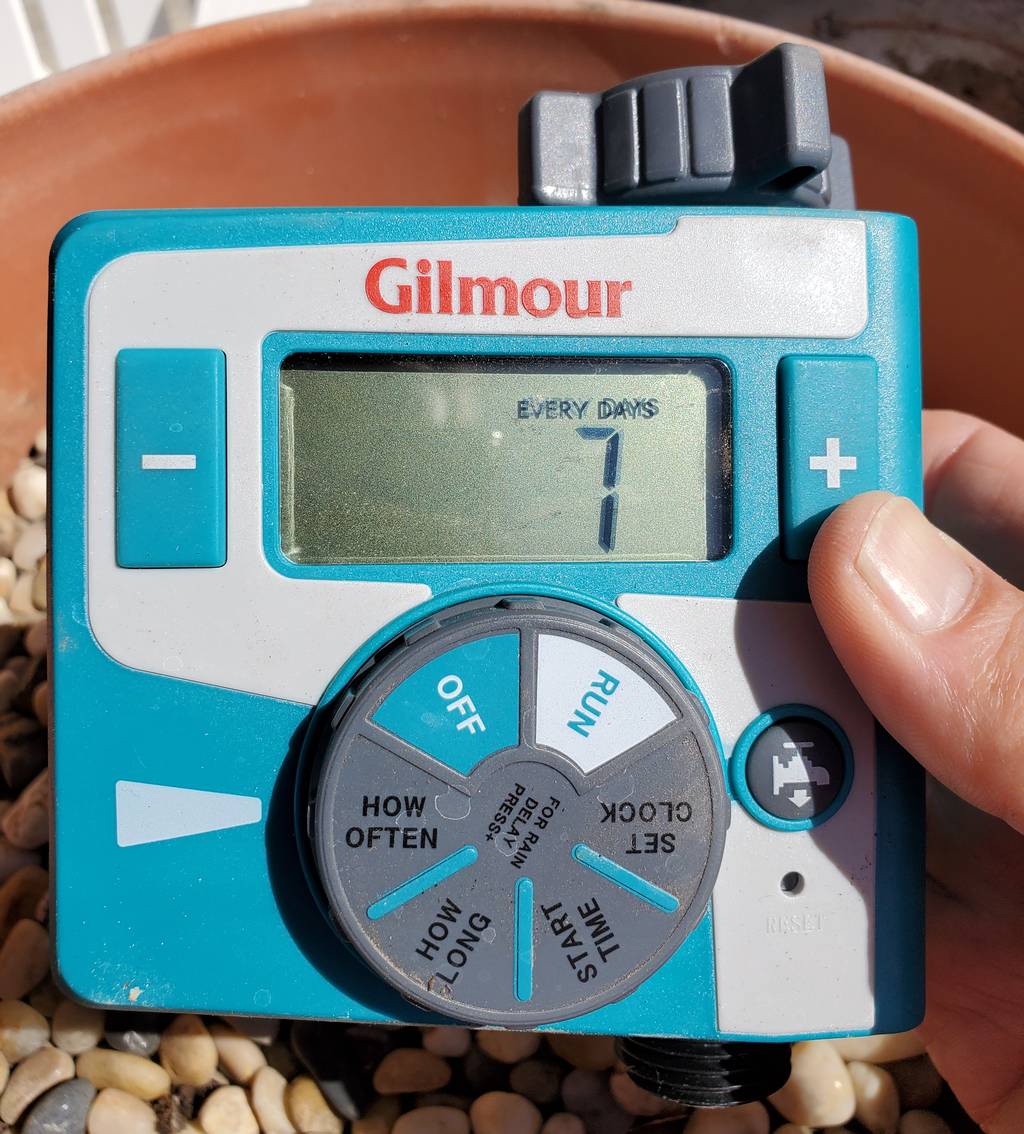
- Set watering frequency
Turn the dial until “How Often” is aligned with the indicator on the left. Using the Plus and Minus buttons on either side of the display, set the how often you would like the water to be on. The minimum setting is every 6 hours. The maximum setting is every 7 days.


- Set the dial to “Run”
Rotate the dial until “Run” is aligned with the indicator on the left. Setup of the self watering system is complete. The display alternates between the current time and the next start time.


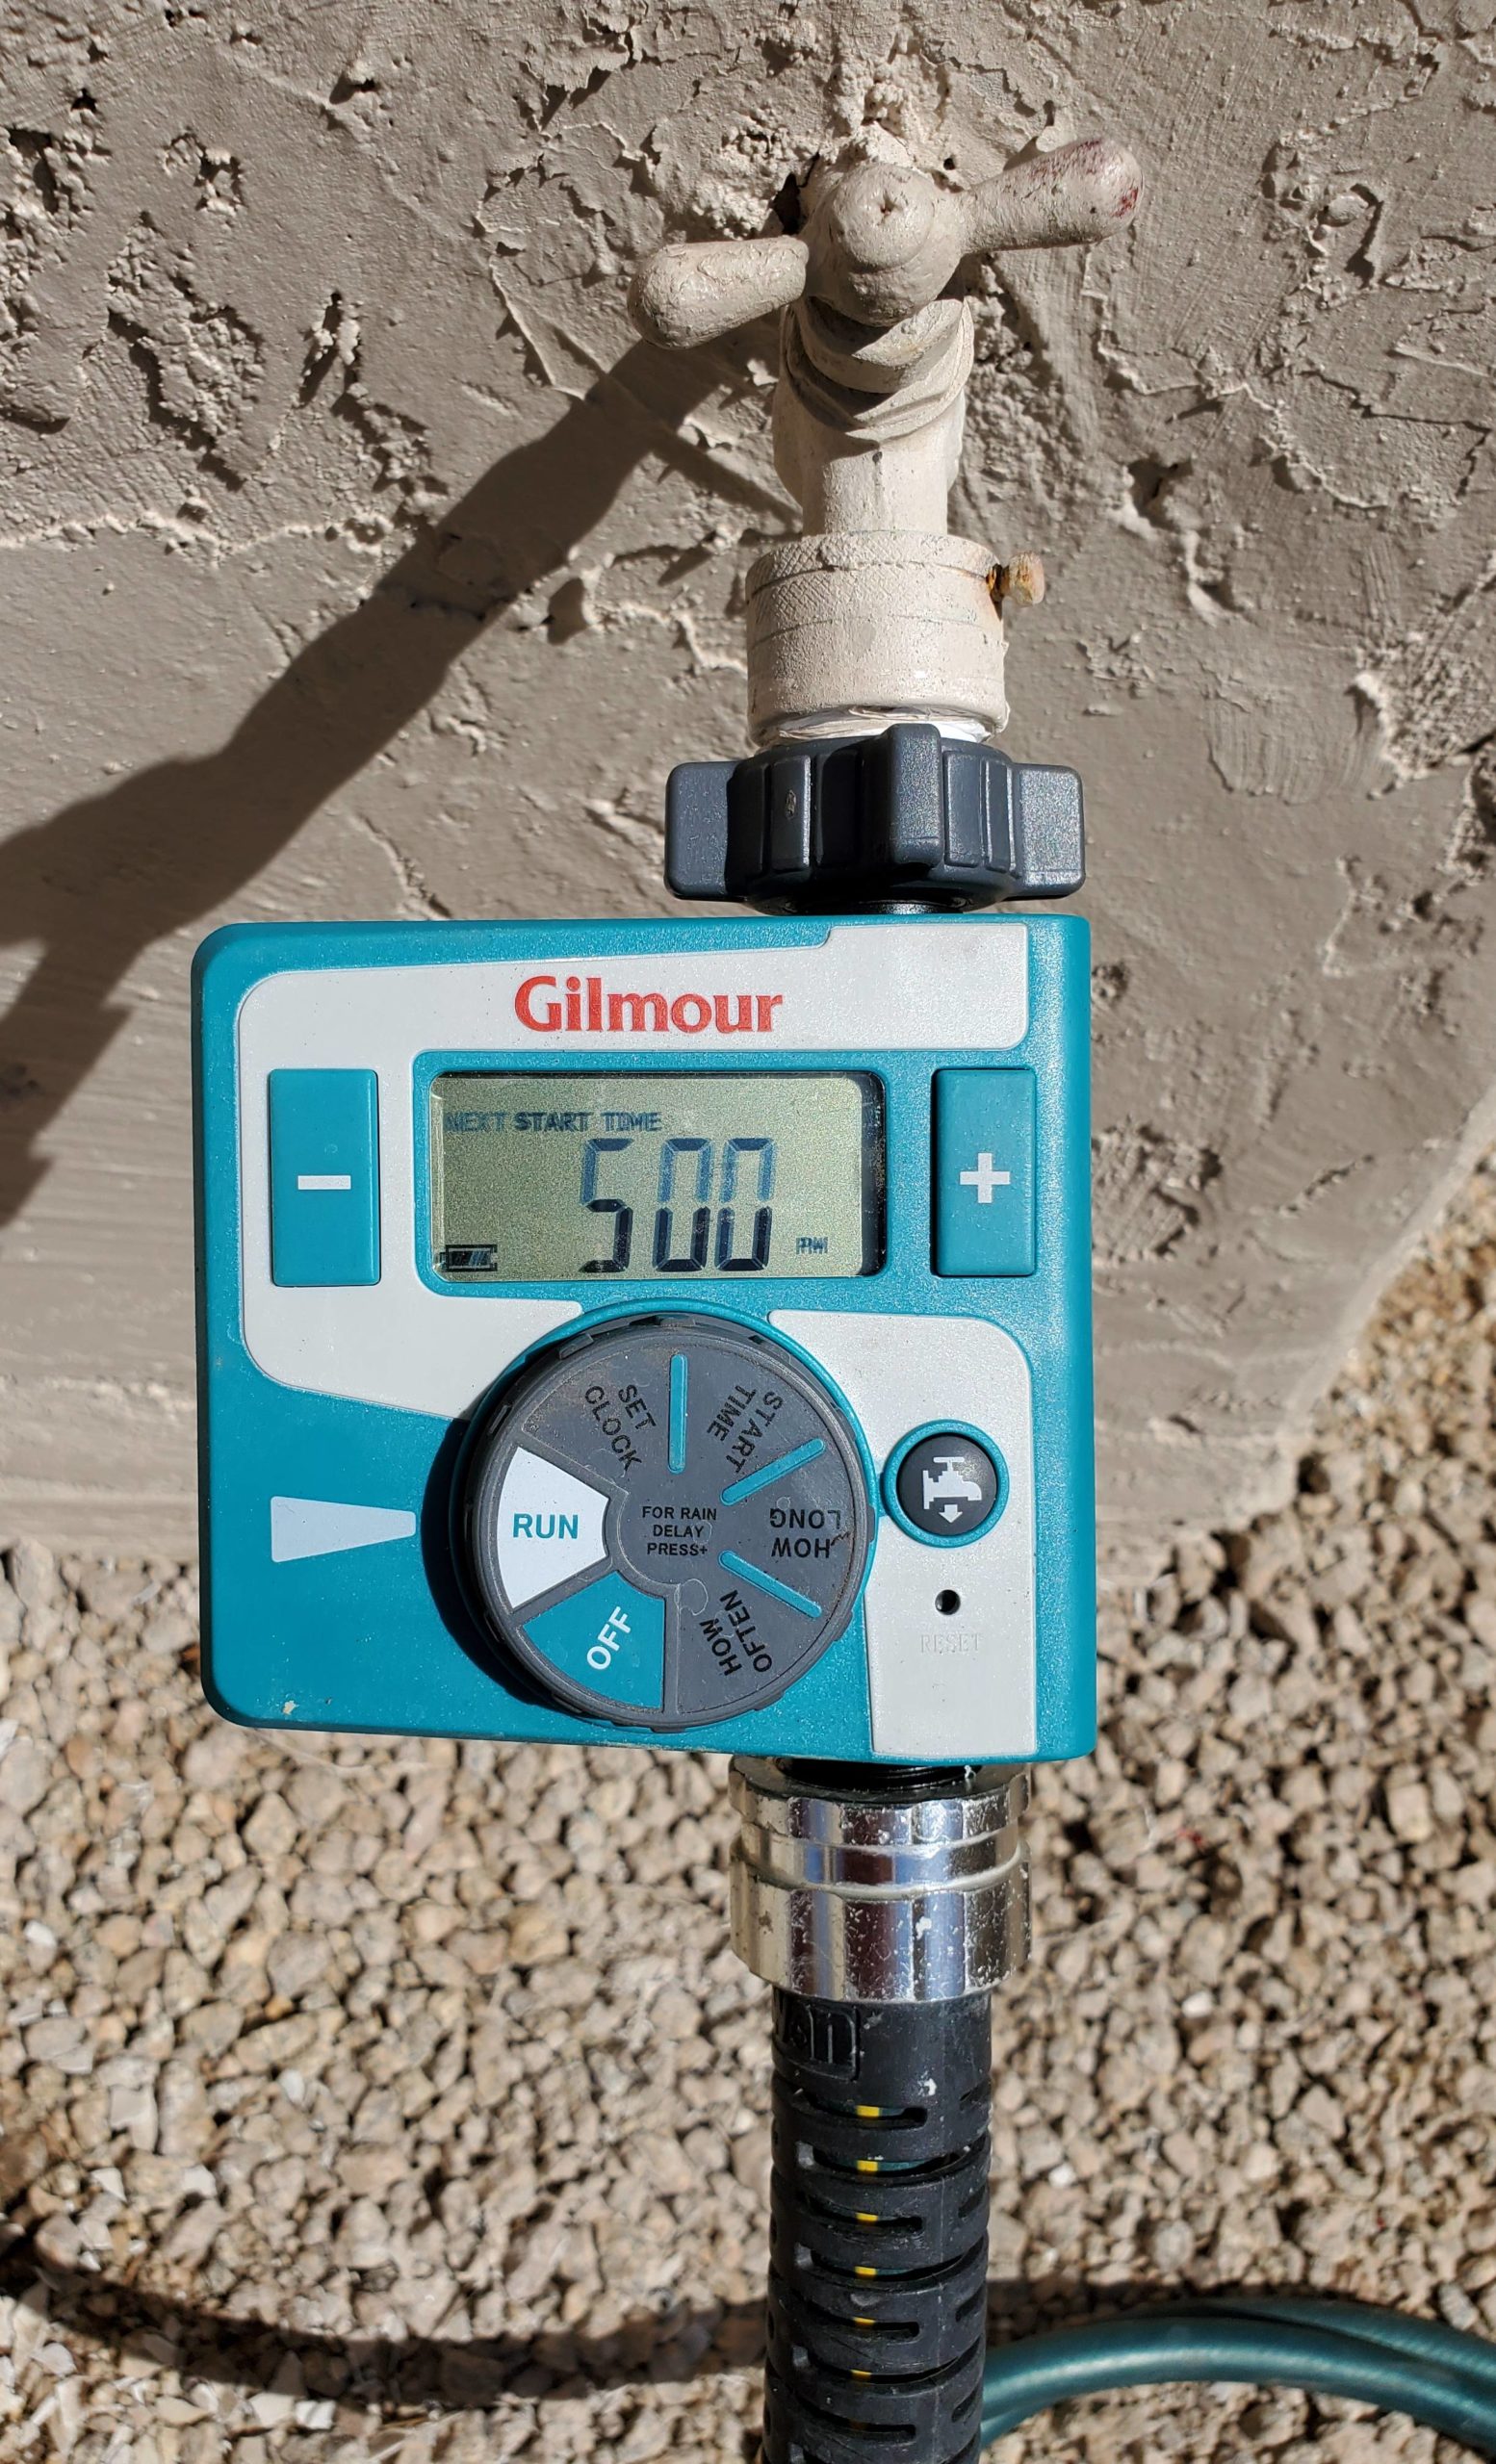
- Connect to spigot and hose
Screw the hose timer directly onto the garden hose spigot. The unit has a filter on the inlet and a rubber hose washer. Connect your hose to the bottom connection. Turn the spigot on, water will not flow to the hose until the start time is reached. If you want to turn the water on without disrupting the schedule, press the round button with the icon of the spigot on it. It will turn the water on and off manually.


That’s all there is to it. The timer just works. Now my citrus tree will get watered in the right place and often enough to produce lots of juice filled fruit for me, and hopefully enough for my neighbors.
By the way, the water hose timer comes in a 2-tap version as well. I also found a 4-tap version. A little more digging brought up a Wi-Fi controllable version, and a Bluetooth controllable version. Tech is so cool!