Philips Hue Light Installation Made Easy
Philips Hue lighting is one of the easiest products to install to start your Smart Home journey. If you’re looking to dip your tow in the waters of Smart Home technology, or if you installed a Ring doorbell or Dropcam and want to try more, then Philips Hue lighting is a good option. And there are many options.
The Philips Hue lighting product line includes something for every taste, bulbs to lightstrips to fixtures, indoor and outdoor, and from simple white dimmable to flashy multicolor lights. And there are accessories from switches to motion sensors to smart plugs.
The capabilities you get are pretty sophisticated as well. You can of course turn your lights on and off from your smartphone. You can also set them to any brightness you desire. Then you can set up “scenes” where you can configure different settings for each light. For example, a “Waking up” scene might include a dim light on over the coffee pot in the kitchen, and a living room light on dim as well so you don’t stub your toe fetching coffee. A “Watch a Movie” scene might have the living room light off, but the light behind the TV on to 30%. Your scenes can become as sophisticated as you like. The most useful capability, in my opinion, is that you can have your home assistant, such as Amazon Alexa or Google Home, control your lights. You can then include them in scheduled routines.
If this is your first installation of a Philips Hue lighting system, start with a Starter Kit which includes the Hue Bridge, sometimes called a Smart Hub. Not all Starter Kits include a Bridge, so look for one that does. They will come with one to four light bulbs in the kit.
As I outlined in an overview article about Philips Hue, using the bridge to install Hue products makes the most sense. You get far more functionality and expandibility by using the Hue bridge.

Philips Hue Light Starter Kit with 2 dimmable bulbs, white only.
Philips Hue Light Starter Kit with 4 multicolor bulbs

If you can’t find the light you’re looking for in a starter kit, then buy the bridge as a single product, and also the lighting product you want to install.

Philips Hue Smart Hub Only

Philips Hue LightStrip, multicolors
Installing Philips Hue Lights
The steps to install Philips Hue lights are:
- Install the bulbs
Turn off the light switch and replace the original bulb with the Philips Hue smart light bulb.
- Turn on the light switch
- Install the Philips Hue app
Install the Philips Hue app on your phone or tablet (Philips Hue at Google Play | Philips Hue at Apple Store). The app should try to walk you through the rest of the process, but it can get out of sync and frustrating, so be patient.
- Install the Hue Bridge
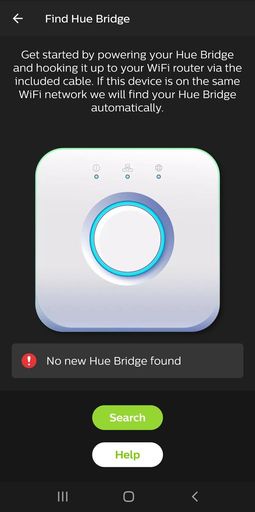
Connect the Philips Hue Bridge to your network router using the included Ethernet cable. Then power the Bridge with it’s AC adapter.
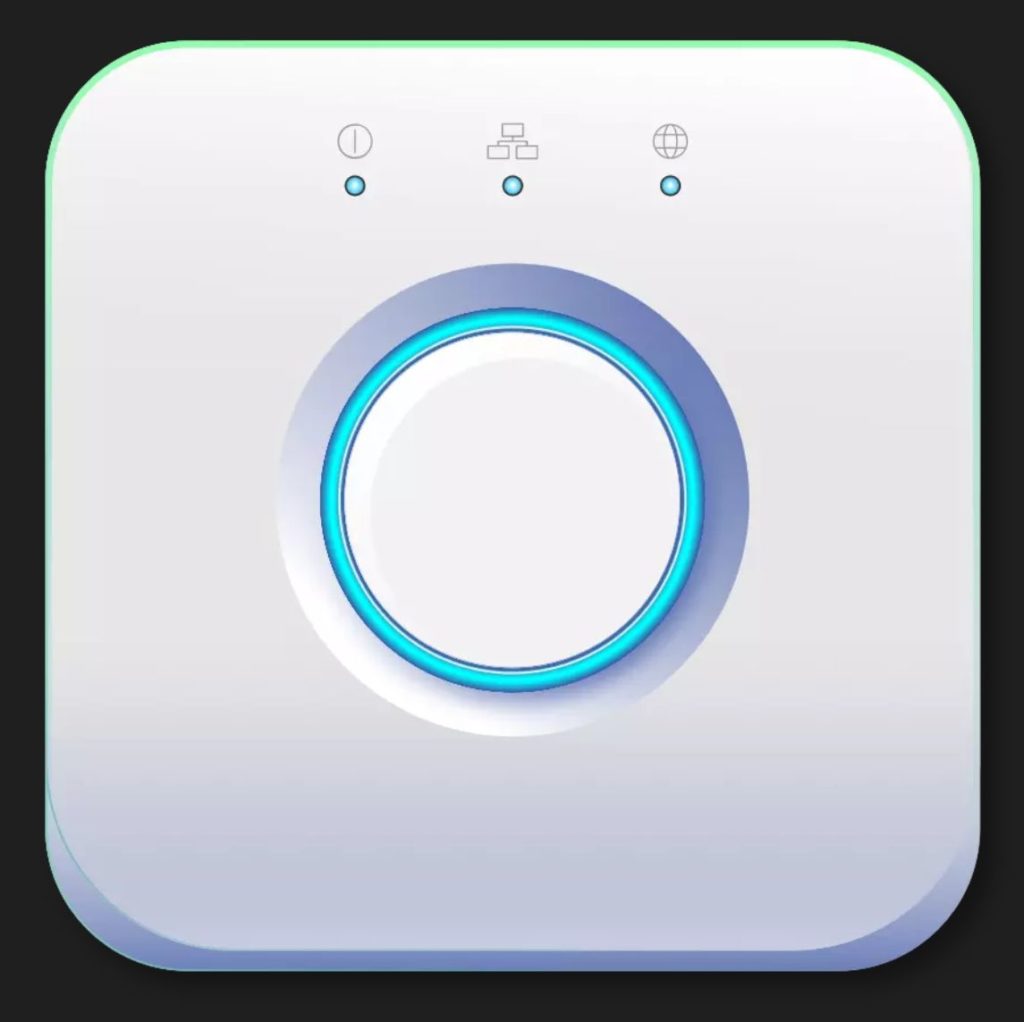
- Wait for three blue lights on the bridge
Wait for the three small lights on the bridge to turn blue and stay blue. It may take three to five minutes, don’t panic and keep hitting the button or bail out of the app.
- Prompt the app to search for the bridge
Tap the round button on top of the bridge when prompted. Once the app finds the bridge, it will list the lights that you have installed and powered on.
- Your Installation is complete – congratulations!
You can now configure your lights, renaming them, assigning them to rooms, and changing their icons in the app.
Using the App
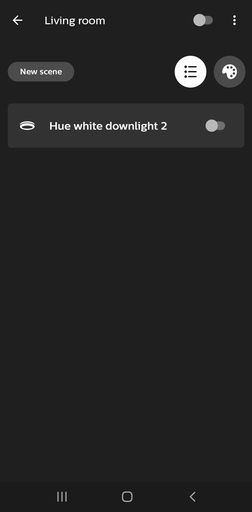
The app has a Home Screen, which shows you your rooms and a synopsis of the state of the devices in that room. From the Home screen, the three-dot menu takes your Rooms & zones, where you can configure your rooms, and Light Setup where you can customize each light you installed.


Philips Hue light app Home screen 

Philips Hue light app Routines screen Philips Hue light app Explore screen Philips Hue light app Settings screen 

Philips Hue light app Rooms 

Configure one room Configure each light bulb (not) Finding a Bridge


There is also a Routines screen, where you can customize and manage routines. The Explore screen includes lots of helpful content. The Friends of Hue section will help you connect your voice assistant. There are also helpful How-To videos accessible from this screen in the App.
The Settings menu contains what you might expect, including alternate ways to get to the same configuration screens as you can from the pother menus. However there is one item in the Settings menu you will want to set. The last item in the menu is Power-on behavior. This is where you set what the light should do when powering back on from a power failure. Keep in mind that someone walking down the hall and innocently turning off the light switch is, to the bulb, a power failure.
Once you’ve installed and configured your hub and bulbs, connect them to you voice assistant if you have one. For Alexa, enable the Hue skill. She’ll be turning lights on and off for you in no time. And you’re going to want to pick some more lights…